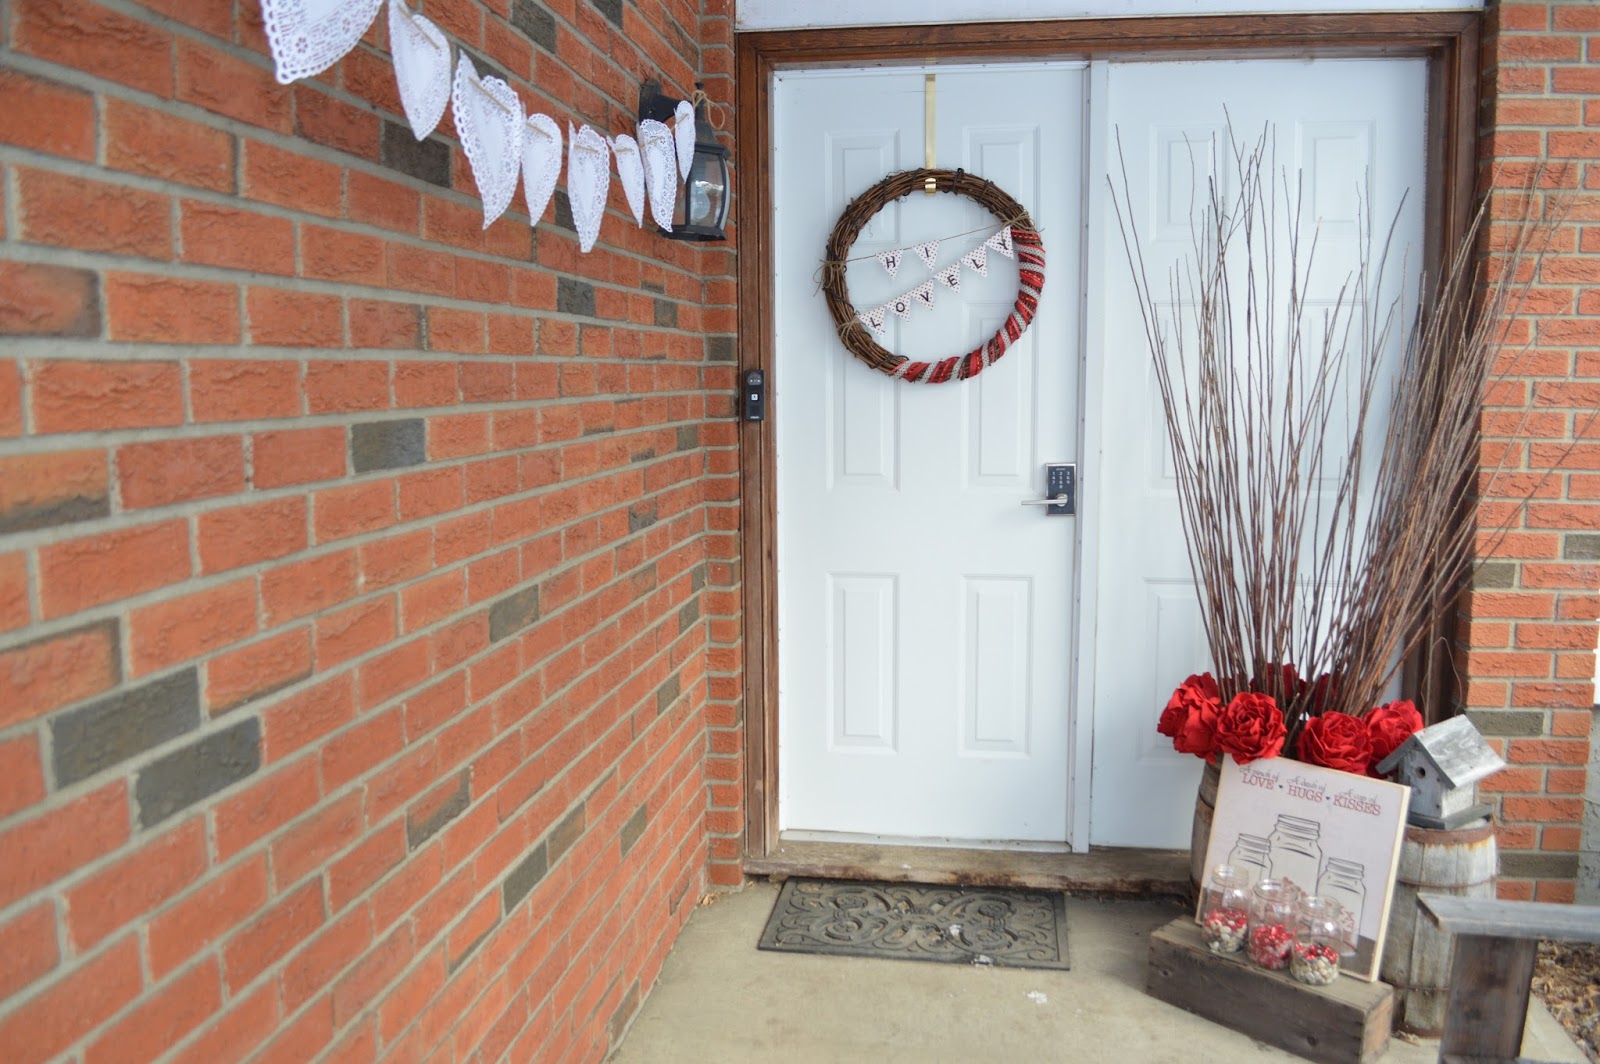
Valentine's Day Ribbon Wreath
Valentine's Day is fast approaching and I am finally getting our house decorated! I love "Love Day", and I can't help but put out a few decor things here and there. This year, I realized that I didn't have anything to put on my front door, so I decided to get a little crafty. Since the weather is turning cold again, there's no venturing to any craft stores, so I just used what I had around my house instead. Hope you enjoy this quick little project!


Step 1: Gather up all your supplies. You'll need a wreath form of some sort, I used a grape vine one because that's what I had. This is a chance to use up all of your spare bits of ribbon, especially those odd pieces from your Christmas wrapping! My Grandma was great at using up every last bit of her supplies and turning them into something new.
 |
| Things you'll need: Wreath, spare pieces of ribbon (any size), 12" x 12" scrapbooking paper, burlap twine, scissors, stick-on letters, double-sided tape and a hot glue gun |
Step 2: Start with your widest piece of ribbon and wrap it around the wreath. Begin at the right side of the wreath and work your way down. Secure both ends with some hot glue.


Step 3: Next, take your thinner ribbons and start winding them in between the wide pieces. Remember to wind them around first and secure them with hot glue second (in case you want to move them around).
There's no set way of doing this - be random! When one ribbon runs out, start with a different one.


Step 4: Take some burlap twine and measure it across the wreath. Tie one end on, pull it tight and secure it to the other side.


Step 5: Take your 12" x 12" scrapbooking paper and measure out 3" x 6" pieces.


Step 6: Take those 3" x 6" pieces and fold them in half

Step 7: Measure 1.5" across the open end of the folded paper and make a mark.

Step 8: Draw a line from the outside corners to your 1.5" mark to make a triangle.
Then cut out your triangle.


Step 9: Make as many triangles for as many letters you would like in your wreath's "greeting".

Step 10: Place one stick-on letter (purchased from Walmart) on each of your triangle pieces.
Create your Valentine's Day greeting!

Step 11: Place the triangle pieces on the burlap string tied across your wreath.

Step 12: Secure each triangle piece with a piece of double - sided tape.


(I added a second burlap string to mine, to create a double - layered message)
Step 13: Tie small burlap string bows and hot-glue them to each spot where your string is tied onto the wreath - to finish it off.


And that's it! Enjoy your new wreath! And have a very Happy Love Day!!!


Comments
Post a Comment